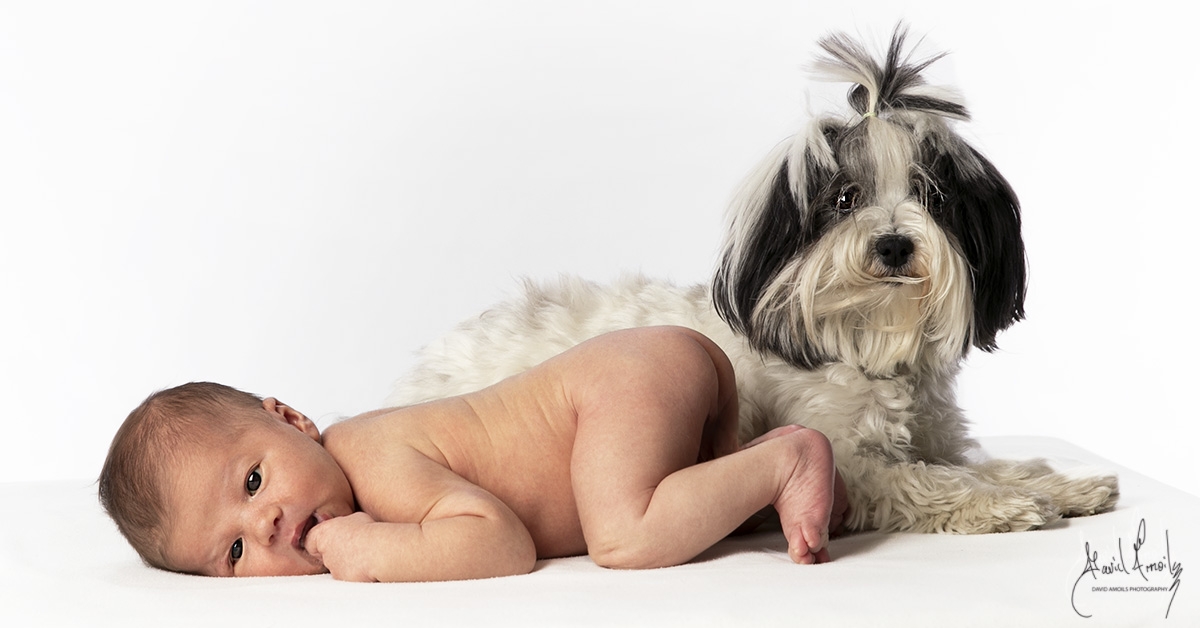
There are so many considerations to think about when it comes to pet photography. Should the focus be on the face and expression? How many props should be used, if any? How can you prepare your furry friend for their professional photo shoot?
After choosing a professional photography studio that has vast experience doing pet photography, there are still many things you can do during the shoot itself to improve the quality of the final prints. From backdrops to grooming, here are a few tips the next time your dog ,cat, bunny or hamster is ready for the camera.
1. Gain Focus | Professional Pet Photography
Like photographing your child, the biggest challenge when taking a picture of your dog or cat is trying to get their attention. Toys and whistles are two effective ways to get them to focus on the camera. Don’t use too many stimuli or you risk overwhelming your pet.
To calm them down, let the animals explore the studio beforehand. Being able to sniff and walk around this new environment and work out their anxiety is a huge step towards a smooth photo shoot.
Pet photography is an exercise in trust more than anything else. Do it right, and you’ll get great results while also bonding with your pet.
2. Build a Setup | Professional Pet Photography
Do not underestimate the importance of a good backdrop in your pet photos. Even a simple one can brighten up the mood. If the professional pet photo shoot is outdoors, flowers and foliage make a beautiful, natural backdrop.
On the note of freshening up, give your pet a nice grooming prior to their photo shoot. Stray hairs and messy fur are hard to remove in editing, so make sure your pet is all tidied up prior to their photo session.
3. Stay Safe | Professional Pet Photography
Many professional pet portrait studios place smaller pets on a table and place the camera at eye-level. Never take chances with their safety. Ensure someone is standing near the table or any elevated prop to make sure the animals don’t fall and hurt themselves.
Some animals don’t respond well to camera flashes, so consider distracting the pet during the photo shoot.
4. Take Many Images | Professional Pet Photography
Now that most camera work is done digitally, there’s very little reason not to take many different angles and shots. Include headshots at multiple angles, including straight on. Ask yourself whether body shots should include the whole body in the camera or just a portion.
Sometimes, the best photos are the ones taken inadvertently. You might like a shot of your pet looking away accidentally.
David Amoils Photography | Professional Pet Photography | – Toronto and the GTA
For one of the few true photography studio experiences in Toronto, contact David Amoils Photography, a professional photography studio with extensive experience with pet photography and professional portraits. We are your go-to studio for all your professional photography needs in a warm and welcoming environment.
We have over 25 years of experience in professional photography of families, babies, children, and pets. Whether you’re looking for outdoor shots or studio masterpieces, David Amoils Photography is the best in the industry, and will help you create memories that will last a lifetime. Contact us today for your next pet photo shoot.
- Professional pet portrait studios use all sorts of photography props, edits, and ideas to make the most memorable pet photographs come to life.
- Before your next session, learn to help your pet focus on the camera. Think about the backgrounds and props you might be using, whether they’re dog beds or chew toys.
- For an innovative and passionate professional pet portrait studio serving the Toronto area and the GTA, David Amoils is ready to make your dog or cat look his or her best.

